DbSchema | SQL Server - How to Implement Partitioning?
![]()
Table of Contents
- Introduction
- Prerequisites
- What is Partitioning?
- Usage of Partitioning
- Advantages and Limitations of Partitioning
- Restrictions and Permissions
- Types of Partitioning
- Difference between Horizontal and Vertical Partitioning
- Implementing Partitioning in sqlcmd
- Implementing Partitioning in DbSchema
- Conclusion
- References
Introduction
In the world of databases, handling large amounts of data effectively and efficiently can be a challenging task. Partitioning is one approach that can greatly enhance the performance of data manipulation and retrieval processes in SQL Server. This article explores the concept of partitioning in SQL Server, its advantages, limitations, different types, and how to implement it using sqlcmd and DbSchema.
Prerequisites
Before diving into this tutorial, it’s assumed that you have:
- A basic understanding of
SQLandSQL Server. - SQL Server installed and configured.
sqlcmdutility andDbSchemainstalled.- A sample database to use for
demonstration.
For installation and establishing connection you can read our article SQL Server-How to create a database?
What is Partitioning?
Partitioning is a data management technique that allows you to divide a very large table into smaller, more manageable parts called partitions. Each partition is stored separately, potentially on different physical storage devices. These partitions can be independently managed and queried, making data retrieval and management more efficient.
Usage of Partitioning
Partitioning is typically used in the following scenarios:
- When dealing with large tables or indexes to improve their
manageabilityandperformance. - For simplifying
maintenance operationsby enabling them to target specific portions of a table. - To enhance the
speedof certain queries by allowing thedatabase engineto access data from individual partitions.
Advantages and Limitations of Partitioning
Advantages
- Performance improvement: Partitioning can greatly
enhancequery performance, particularly for large tables, by enabling more rapid data access. - Manageability: Large tables can be divided into smaller, more
manageable parts. - Enhanced data availability: Since partitions can be independently managed, the
failureof one doesn’t impact the others.
Limitations
- Complexity: Partitioning adds
complexityto database design andadministration. - Cost: Depending on the database management system and
storage architecture, implementing partitioning mayentailadditional costs. - Inappropriate usage: If not used correctly, partitioning can
decreaserather than increase performance.
Restrictions and Permissions
For creating and managing partitions, users must have the ALTER permission on the table or index, and the CONTROL permission on the database. Un-partitioned tables cannot be directly altered into partitioned tables. They first have to be converted into a partition function and scheme.
Types of Partitioning
Partitioning can be divided into three main types:
| _Type_ | _Description_ |
|---|---|
Horizontal Partitioning |
This involves dividing a table into multiple tables. Each table then contains the same number of columns, but fewer rows. |
Vertical Partitioning |
Here, the table is divided along column lines. Each resulting table has fewer columns, but contains the same number of rows. |
Hybrid (Combination of Horizontal and Vertical) |
A combination of both horizontal and vertical partitioning, which divides a table both in terms of rows and columns. |
Difference between Horizontal and Vertical Partitioning
| Criteria | Horizontal Partitioning | Vertical Partitioning |
|---|---|---|
Division |
Rows | Columns |
Purpose |
To enhance performance and manageability of large records | To improve performance and security by reducing disk I/O |
Example |
Historical data in a table can be moved to another table | Sensitive columns can be moved to a separate table |
Implementing Partitioning in sqlcmd
Implementing partitioning in sqlcmd involves creating a partition function, a partition scheme, and applying these to a table. For this demonstration, we’re going to create a sample database named TestDB and a table named Orders.
- Launch your command prompt and start sqlcmd by typing
sqlcmd.
sqlcmd
- Connect to your SQL Server instance using the following command
sqlcmd -S <server_name> -U <username> -P <password>
Replace server_name with your actual server name, and username and password with your SQL Server credentials.
- Now, let’s create a sample database named
TestDB.
    CREATE DATABASE TestDB;
    GO
- Use the
TestDBdatabase for subsequent commands.
    USE TestDB;
    GO
- Create a table named
Orderswith three columns.
    CREATE TABLE Orders
    (
    OrderID int NOT NULL,
    OrderDate date NOT NULL,
    Amount decimal NOT NULL
    );
    GO
To know more about creating a table you can read our article SQL Server-How to create a table?
- Insert some records into the
Orderstable.
    INSERT INTO Orders VALUES (101, '2023-07-01', 1000.00);
    INSERT INTO Orders VALUES (201, '2023-07-02', 2000.00);
    INSERT INTO Orders VALUES (301, '2023-07-03', 1500.00);
    GO
- Create a partition function. This function will divide the table data into partitions. We’ll name this function
OrdersPF. We’ll partition our data based on theOrderIDcolumn.
    CREATE PARTITION FUNCTION OrdersPF (int)
    AS RANGE LEFT FOR VALUES (100, 200, 300, 400);
    GO
This function creates 5 partitions. The first will hold rows with values from -infinity to 100, the second from 101 to 200, the third from 201 to 300, the fourth from 301 to 400, and the last for 401 to infinity.
- Next, create a
partition scheme. This will map the partitions to filegroups. We’ll name our schemeOrdersPS.
    CREATE PARTITION SCHEME OrdersPS
    AS PARTITION OrdersPF
    TO ([PRIMARY], [PRIMARY], [PRIMARY], [PRIMARY], [PRIMARY]);
    GO
- Modify the
Orderstable to use the partition scheme. We’ll create a clustered index onOrderID, the column we’re using to partition our data.
    CREATE CLUSTERED INDEX idx_OrderID
    ON Orders (OrderID)
    ON OrdersPS (OrderID);
    GO
- Now let’s see how our data is distributed among the partitions. We can check this using the system view
sys.partitions.
    SELECT $PARTITION.OrdersPF(OrderID) AS Partition, COUNT(*) AS [COUNT]
    FROM Orders
    GROUP BY $PARTITION.OrdersPF(OrderID)
    ORDER BY Partition;
    GO
This query will show you how many rows are in each partition. It’ll help you understand how your data has been divided.
Sample Database:
Let’s consider we have a table named Orders with the following columns: OrderID, OrderDate, and Amount. Let’s say the table has the following data:
| OrderID | OrderDate | Amount |
|---|---|---|
101 |
2023-07-01 | 1000.00 |
201 |
2023-07-02 | 2000.00 |
301 |
2023-07-03 | 1500.00 |
401 |
2023-07-04 | 2500.00 |
501 |
2023-07-05 | 3500.00 |
Now, we’re going to implement partitioning on this Orders table based on the OrderID column. Using the partition function and partition scheme explained earlier, our table will be divided into 5 partitions:
- Partition 1: Rows with
OrderIDfrom -infinity to 100 - Partition 2: Rows with
OrderIDfrom 101 to 200 - Partition 3: Rows with
OrderIDfrom 201 to 300 - Partition 4: Rows with
OrderIDfrom 301 to 400 - Partition 5: Rows with
OrderIDfrom 401 to infinity
Here’s how our data will be distributed among these partitions:
| Partition | _COUNT_ |
|---|---|
1 |
0 |
2 |
1 |
3 |
1 |
4 |
1 |
5 |
2 |
- Partition 1 has no rows as none of our
OrderIDvalues fall into the -infinity to 100 range. - Partition 2, 3, and 4 each have 1 row with
OrderIDvalues falling in their respective ranges. - Partition 5 has 2 rows because it contains
OrderIDvalues from 401 to infinity. OurOrderIvalues 401 and 501 fall into this range.
Implementing Partitioning in DbSchema
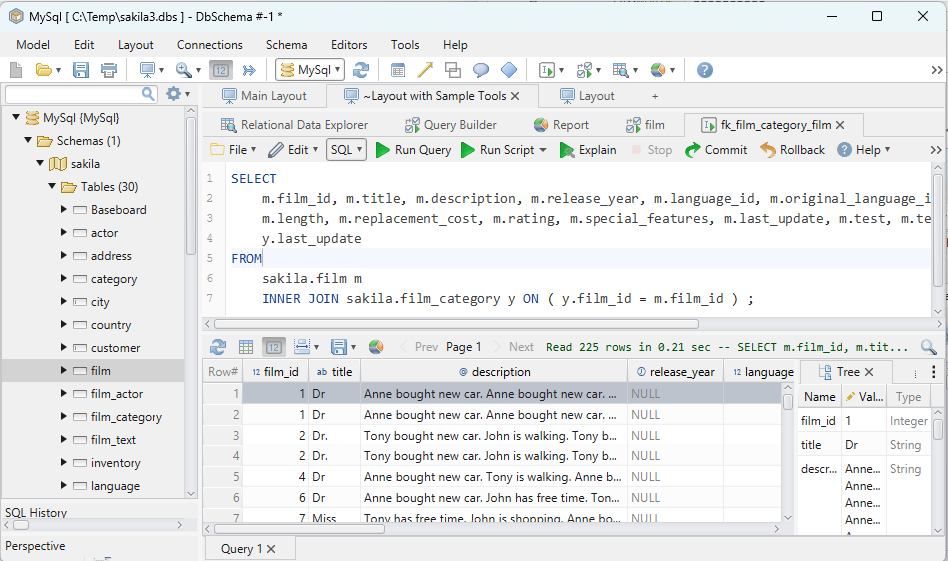
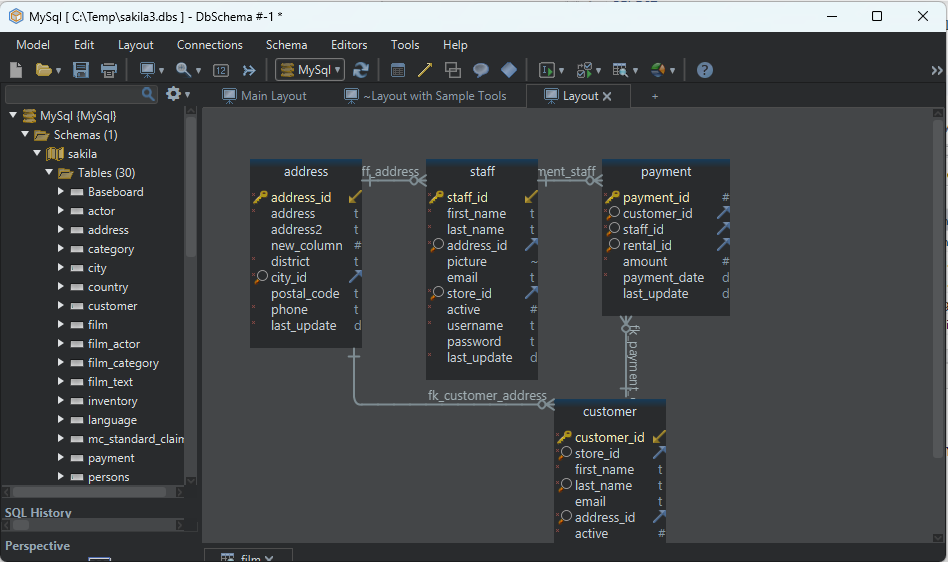
Implementing partitioning in DbSchema is quite visual and straightforward. Here are the steps:
- Open DbSchema and connect to your SQL Server database.
- Open the
Relational Data Browsefeature from the toolbar. - Right-click on the table you want to partition and select
Edit Table. - In the table editor, select the
Partitionstab. - Define the partition type, partition key, and other parameters as per your requirements.
- Apply the changes and close the editor.
- To check the partition, you can use the SQL Query tool to run queries against your partitioned table.
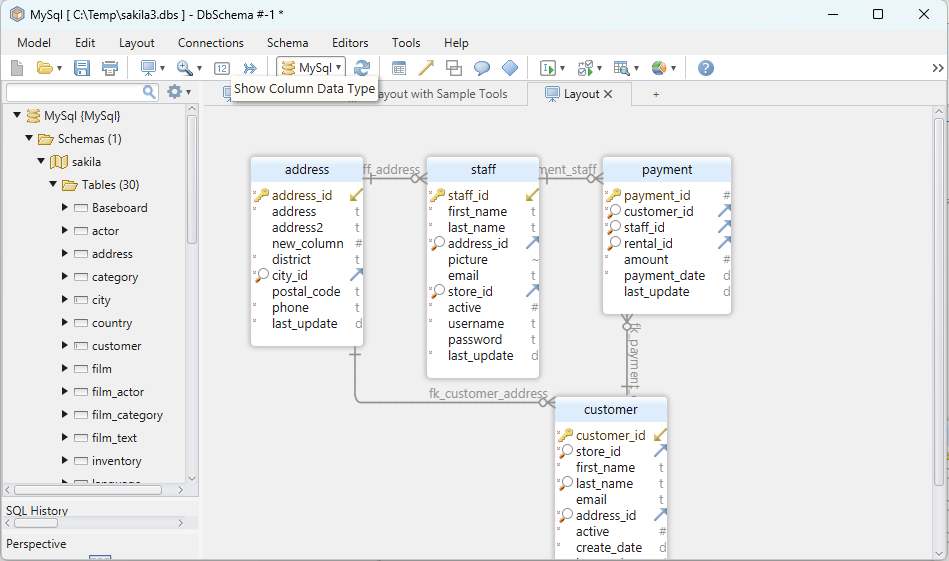
Visually Manage SQL Server using DbSchema
DbSchema is a SQL Server client and visual designer. DbSchema has a free Community Edition, which can be downloaded here.
Key Features of DbSchema:
Following are the key features of DbSchema which distinguish it from other database GUI tools.
Conclusion
Partitioning is a powerful technique that enhances data management and query performance on SQL Server. With a clear understanding of its benefits, limitations, and how to implement it using tools such as sqlcmd and DbSchema, you can effectively handle large volumes of data.
References
- Microsoft Docs: Partitioned Tables and Indexes
- DbSchema Documentation: DbSchema Diagram Designer & Admin Tool