DbSchema | How to Implement LIMIT Clause in SQLite?

Table of Contents
- Introduction
- Prerequisites
- What is the LIMIT Clause?
- Advantages of Using the LIMIT Clause
- Limitations and Restrictions of Using the LIMIT Clause
- Implementing the LIMIT Clause in sqlite3
- Implementing the LIMIT Clause in DbSchema
- Conclusion
- References
Introduction
SQLite is a software library that provides a __relational database management system. In this article, we will explore the __LIMIT clause in SQLite, how to implement it using the __sqlite3 library and __DbSchema, and also discuss the advantages, limitations, and potential restrictions.
Prerequisites
- __SQLite3` installed on your local machine.
- __DbSchema` installed on your local machine.
- Basic understanding of __SQL` and database concepts.
For installation and establishing connection you can read our article SQLite-How to create a database?
What is the LIMIT Clause?
The __LIMIT clause in SQLite is used to __constrain the number of rows returned by the __SELECT statement. This is especially __useful when dealing with large databases where returning all data could be __costly` in terms of performance.
Here is a __general syntax`:
SELECT column1, column2, ...
FROM table_name
LIMIT number;
Advantages of Using the LIMIT Clause
Performance: When dealing with large databases, __LIMIT
can significantly __reduce the number of rowsprocessed, improving __query performance`.Paginated Results: It’s useful for fetching __paginated results
by using it with the __OFFSETkeyword.
Limitations and Restrictions of Using the LIMIT Clause
Ordering: The LIMIT clause does not guarantee the __order` of the rows returned. If specific ordering is required, it’s best to use it with the ORDER BY clause.
Portability: Not all database systems support the LIMIT clause, which can lead to __portability issues`.
Implementing the LIMIT Clause in sqlite3
Step 1: Start SQLite Interactive Shell
Open your terminal (Command Prompt on Windows, Terminal app on macOS or Linux) and type the following command to start the __SQLite` interactive shell.
sqlite3
This will open the SQLite __command line interface`.
Step 2: Create a Database (If not exists)
If you don’t have a database to work on, you can create a new one. Use the following command to create a new database named __SampleDB`.
sqlite3 SampleDB.db
To know more about creating a database you can read our article SQLite-How to create a database?
Step 3: Create a New Table
We’ll need a table to implement LIMIT Clause. If you don’t already have a table, you can create one using the __CREATE TABLE command. Let's create a table named __orders with columns __id, __product, and __quantity`..
CREATE TABLE orders(
   id INT PRIMARY KEY,
   product TEXT NOT NULL,
   quantity INT NOT NULL
);
To know more about creating a table you can read our article SQLite-How to create a Table?
Step 4: Inserting Data into the Table
Next, let’s insert some data into the ‘orders’ table.
INSERT INTO orders (id, product, quantity) VALUES
   (1, 'Apples', 5),
   (2, 'Oranges', 7),
   (3, 'Bananas', 8),
   (4, 'Grapes', 10),
   (5, 'Pears', 6);
orders table:
| id | _product_ | quantity |
|---|---|---|
| __1` | Apples | 5 |
| __2` | Oranges | 7 |
| __3` | Bananas | 8 |
| __4` | Grapes | 10 |
| __5` | Pears | 6 |
Step 5: Using the LIMIT Clause
Now, we can use the __LIMIT clause to limit the number of rows returned by our SELECT statement. Let's __retrieve only the first three records:
SELECT * FROM orders LIMIT 3;
Result After Execution:
The __output` will be:
| _id_ | product | quantity |
|---|---|---|
| __1` | Apples | 5 |
| __2` | Oranges | 7 |
| __3` | Bananas | 8 |
And __that’s it! You have successfully used the LIMIT clause in __sqlite3.
You can exit the sqlite3 interface by typing __.exit and hitting __enter.
Remember, SQLite does not guarantee an __order for the rows returned. If you want to enforce an order, use the __ORDER BY clause in conjunction with __LIMIT`.
Implementing the LIMIT Clause in DbSchema
Step 1: Install and Open DbSchema
Before we start, make sure DbSchema is installed on your computer. You can download it from the official DbSchema website.
Once installed, __open the` DbSchema application.
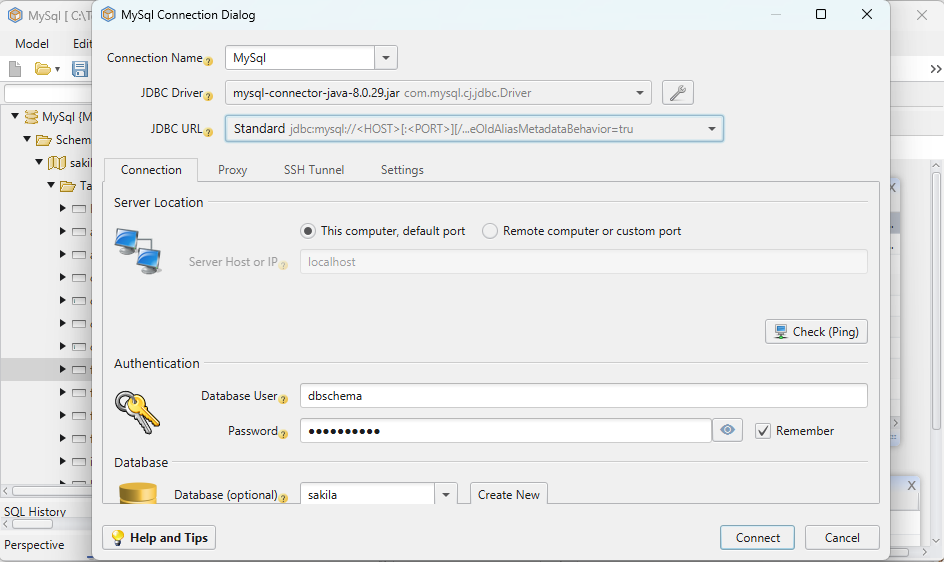
Step 2: Connect to Your SQLite Database
To connect to your SQLite database, click on the “Connect” button from the toolbar.
- In the connection dialog box, choose SQLite as the database type.
- Specify the path to your SQLite database file (for example, __SampleDB.db` that we created earlier).
- Click on “Test Connection” to make sure everything is set up correctly, and then click “Connect”.
Step 3: Open SQL Editor
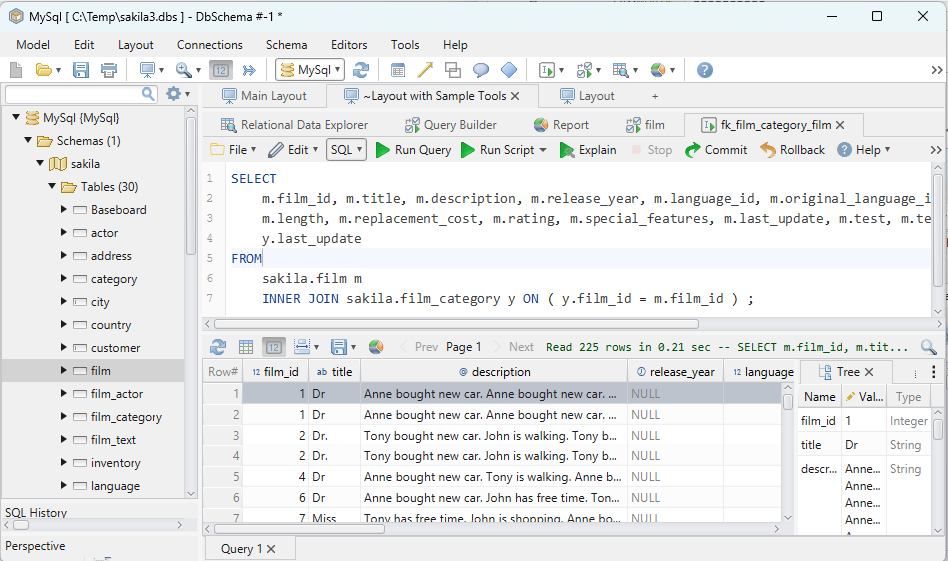
In the DbSchema interface, navigate to __SQL Editor. You can find it in the top menu under __SQL, or you can press the SQL icon in the toolbar.
Step 4: Write and Run Your Query
In the SQL Editor, you can write your __SQL query with the __LIMIT clause. To retrieve the first three records from the __orders` table, the SQL statement would look like this:
SELECT * FROM orders LIMIT 3;
To execute the query, press the __Execute SQL (Play) button or use the shortcut __(F5 or Ctrl+Enter).
Step 5: View the Results
The results of your query will be displayed in the __data output pane below the SQL Editor. You should see the first three rows from the __orders table.
And __there you have it! You've __successfully implemented the __LIMIT` clause using DbSchema.
Remember, you can combine the LIMIT clause with the ORDER BY clause if you want to retrieve rows in a specific order.
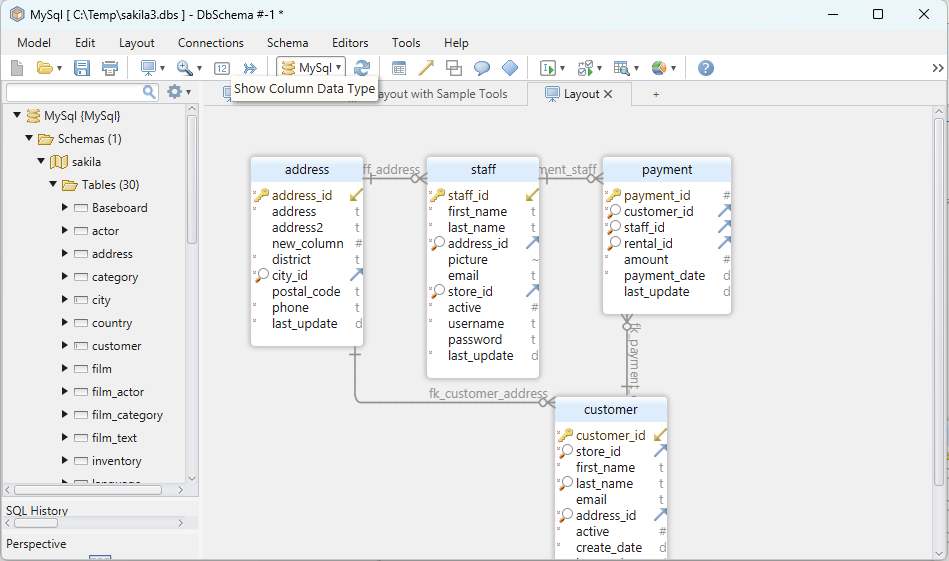
Visually Manage SQLite using DbSchema
DbSchema is a __SQLite client and __visual designer. DbSchema has a free Community Edition, which can be downloaded here.
Key Features of DbSchema:
Following are the key features of DbSchema which distinguish it from other database GUI tools.
Conclusion
The __LIMIT clause is a simple yet powerful feature in __SQL that lets you control the amount of data __retrieved from the database. Whether you're using __sqlite3 or __DbSchema, the syntax and usage remain __largely the same. However, remember the __limitationsand always consider theperformance` and ordering of your results.